


Installation and disassembly tips for mill liners: Key steps to ensure the correct installation of liners
The mill liner, as a core component for protecting the mill cylinder and enhancing grinding efficiency, the standardization of its installation and disassembly directly affects the operational safety and service life of the equipment. For international wholesale purchasers, imparting professional installation and disassembly skills to customers can enhance the product's usage value and increase market trust. This article will elaborate on the operation norms of the grinding mill liner from four dimensions: preliminary preparation, installation process, key points of disassembly and precautions.
Preparatory work: Lay a solid foundation for safe operation
The preparatory work before installation or disassembly is the prerequisite for ensuring a smooth process. First, a comprehensive shutdown inspection of the mill is required. The power supply should be cut off and a "Do Not Start" sign hung to prevent safety accidents caused by misoperation. Clean the residual materials and debris in the cylinder, and check whether there is any wear, deformation or crack inside the cylinder. If there are any defects, they need to be repaired first to avoid affecting the adhesion of the liner.
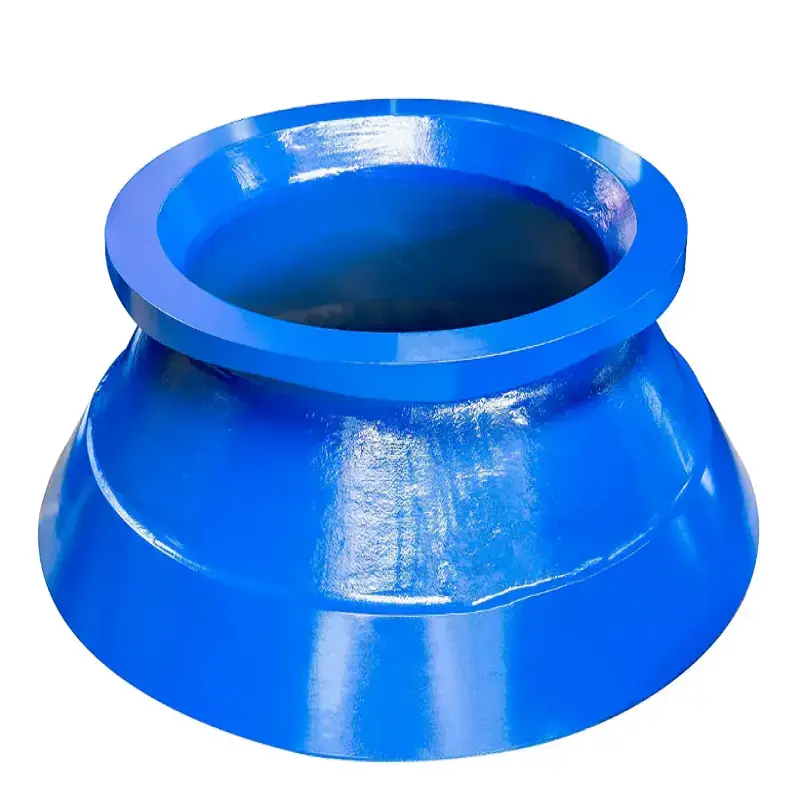
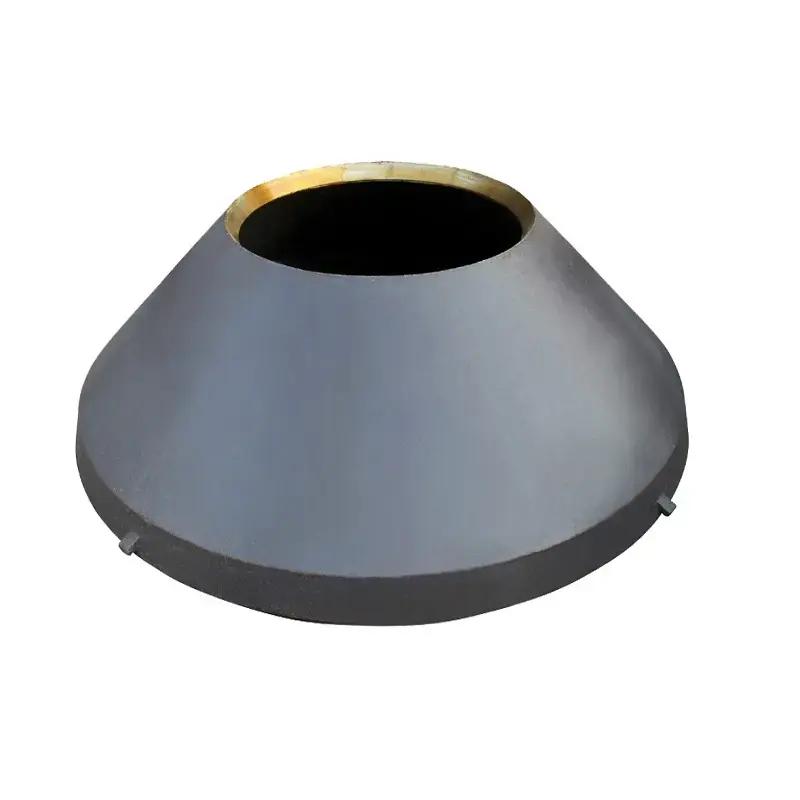
Tool preparation is equally crucial. Torque wrenches, crowbars, lifting equipment (for large liners), cleaning tools and protective gear (safety helmets, anti-slip shoes, gloves, etc.) need to be equipped. At the same time, it is necessary to verify the model and quantity of the liner plates to ensure they match the size of the mill cylinder. Check whether there are any quality issues such as cracks or deformations on the surface of the liner plates. The matching bolts, nuts, washers and other accessories should be complete and meet the strength standards.
Installation process: Ensure the accuracy and stability of the fit
The installation of the liner plate should follow the principle of "precise positioning and uniform force distribution", and ensure the installation quality in three steps. The first step is cleaning and pre-treatment. Use a wire brush to remove rust and oil stains from the installation surface of the cylinder and the back of the liner. Apply adhesive (such as epoxy resin) to enhance the bonding and sealing performance. The adhesive should be evenly applied and the thickness should be controlled at 2-3 millimeters to avoid excessive overflow.
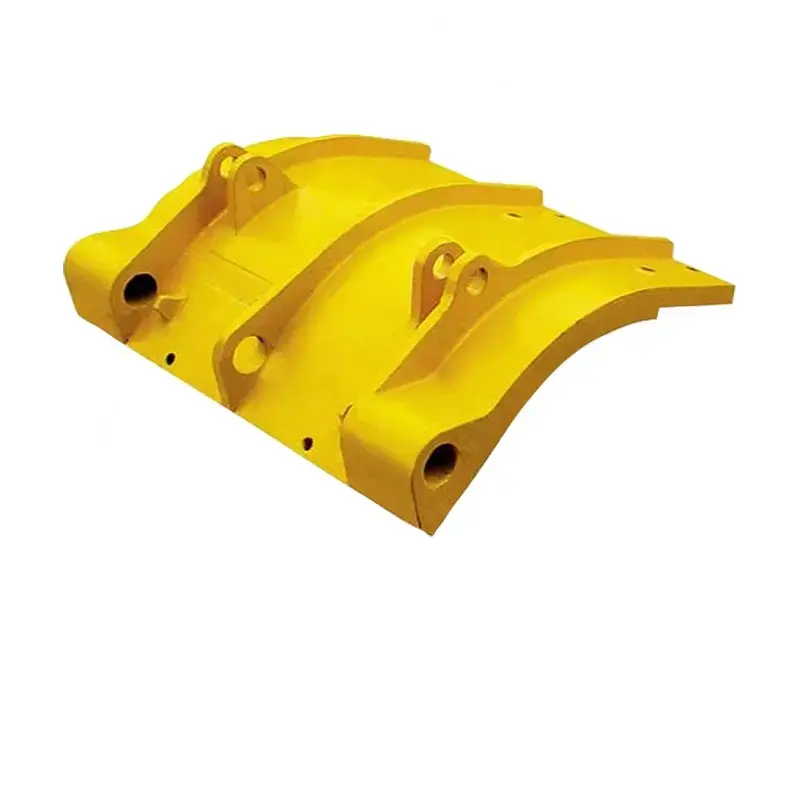
The second step is to position and fix the liners. According to the liner arrangement drawing (usually installed in sequence from the feed end to the discharge end), use a crowbar to adjust the position of the liners to ensure that the gap between adjacent liners is uniform (generally controlled at 3-5 millimeters), and the edges are aligned without misalignment. When installing the bolts, manual pre-tightening is required first to ensure that the bolts pass vertically through the screw holes of the liner and the cylinder. Then, use a torque wrench to tighten them in diagonal sequence in several steps to avoid deformation of the liner due to force on one side. The final torque should comply with the provisions of the equipment manual (usually 300-500 N · m, depending on the specification of the liner).
The third step is a comprehensive inspection. After all the backing plates are installed, check if the gaps are consistent and if the bolts are loose. Gently tap the surface of the backing plates with a hammer. A clear sound indicates a tight fit. If there is a dull noise, there may be a loose connection and it needs to be readjust.
Key points for disassembly: Reduce the risk of cylinder damage
When disassembling the old liner, violent operation should be avoided to prevent damage to the cylinder. First, loosen all the bolts. For rusty or jammed bolts, apply bolt loosening agent and soak them for 10 to 15 minutes. If they still cannot be removed, use special tools to cut them (do not use gas welding to directly burn to avoid damaging the cylinder).
The disassembly sequence is recommended to be carried out in the reverse direction from the discharge end to the feeding end. Use a crowbar to insert into the gap between the liner and the cylinder and slowly pry. Use hoisting equipment to assist in handling (especially for heavy-duty liners) to prevent the liner from falling and damaging the equipment or personnel. After disassembly, the residual adhesive and debris on the surface of the cylinder must be thoroughly cleaned. Check whether the screw holes are damaged. If there is any stripped thread or deformation, it should be repaired in time to create conditions for the installation of the new liner.
Precautions: Norms that run through the entire operation process
Safe operation is the core. At least two people should cooperate during installation and disassembly. When hoisting the liner plate, ensure that the load-bearing capacity of the hoisting gear meets the standard. No one is allowed to stand in the hoisting area. For high-altitude operations (such as large grinding machines), stable scaffolding should be erected and safety belts should be worn.
Environmental control is equally important. In a humid environment, anti-rust treatment (applying anti-rust grease) should be carried out on the bolts. In high-temperature environments, prolonged operation should be avoided to prevent heatstroke among personnel. After installation, the liner plate needs to undergo no-load trial operation (1-2 hours) to check for any abnormal sounds or vibrations. After the machine stops, check the bolt torque again. Only after confirming that there is no loosening can it be put into production.
The installation and disassembly of the mill liner is a combination of technology and standards. Precise operation not only extends the service life of the liner (usually by 20% to 30%), but also ensures the efficient operation of the mill.
